You love spending time in your yard, but somehow, there always seems to be something missing. So, you’ve begun to wonder how to build a wood deck and make your outdoor space even more enjoyable. Whether you want to build it in front of your pool or just in the backyard of your home to enjoy your beautiful garden, this is an excellent choice. Nonetheless, building it is also quite a demanding endeavor that requires some careful planning.

With proper organization, any DIY project can be handled without much trouble, and this one is no exception. You should take enough time to finish it and get everything ready for the summer when you can invite some friends over and enjoy the beautiful weather. To help you achieve that, we have compiled this DIY guide so that you can at least get the idea of what this building process looks like and what needs to be done before you connect it to your home and get to place a lazy bag out there and chill. Let’s take a closer look at these steps.
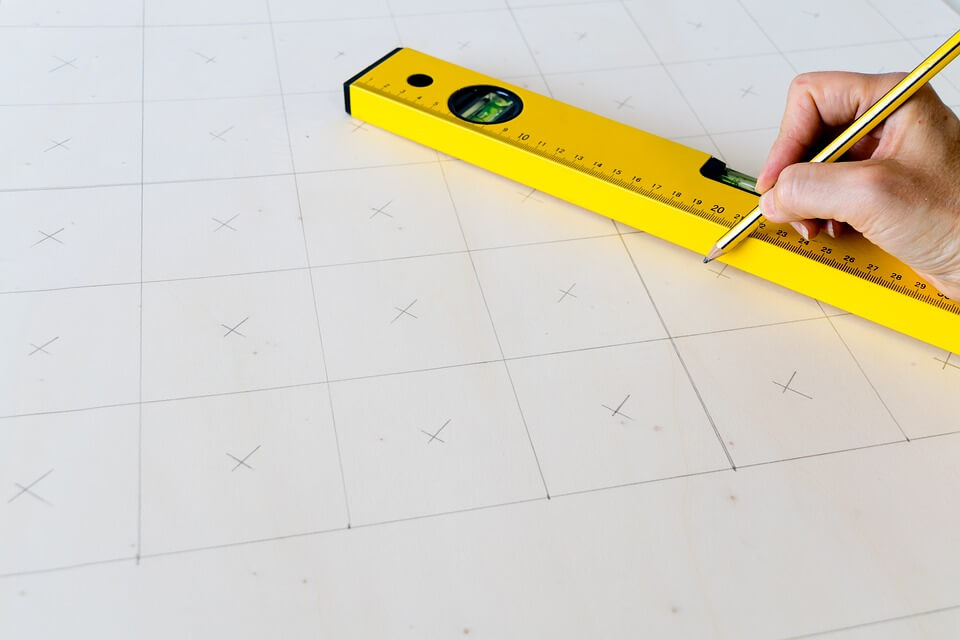
Naturally, you can’t really move on to any DIY construction projects if you don’t have a proper plan laid out. So, before building anything, you should make sure that you have the idea of what your final project is going to look like. To do that, you need to determine its size, to start with.
Depending on how much free space you have in your backyard or any other appropriate outdoor place for decks, you should figure out the dimensions of your project. First, measure the dimensions of the outdoor area behind your home or any other available outdoor piece of ground, and then figure out what deck size can fit there. You don’t want it to be too large, as larger decks are usually unlikely to fit within the yard confines. Plus, they are more expensive.
To get as precise an idea as possible, you should use strings tied to wood stakes and place them on the ground where the structure will be. That way, you can move and adjust the stakes until you get the perfect dimensions.
Once you’ve set the measurements, it’s time to move your planning from paper to the actual ground where the decking will be installed. That way, you’ll prepare the ground for what comes next. Here’s what you should do.
For this DIY task, you can use bright spray and colored flags to mark the ground. This should be done in such a way to have a clear representation of the four corners of the deck and the midpoints. That’s where the eight concrete support posts will go.
When you have it all marked, it’s time to remove the previously placed stakes and bore 15-inch holes there before you return the stakes and string. Use a posthole digger to remove the dirt.
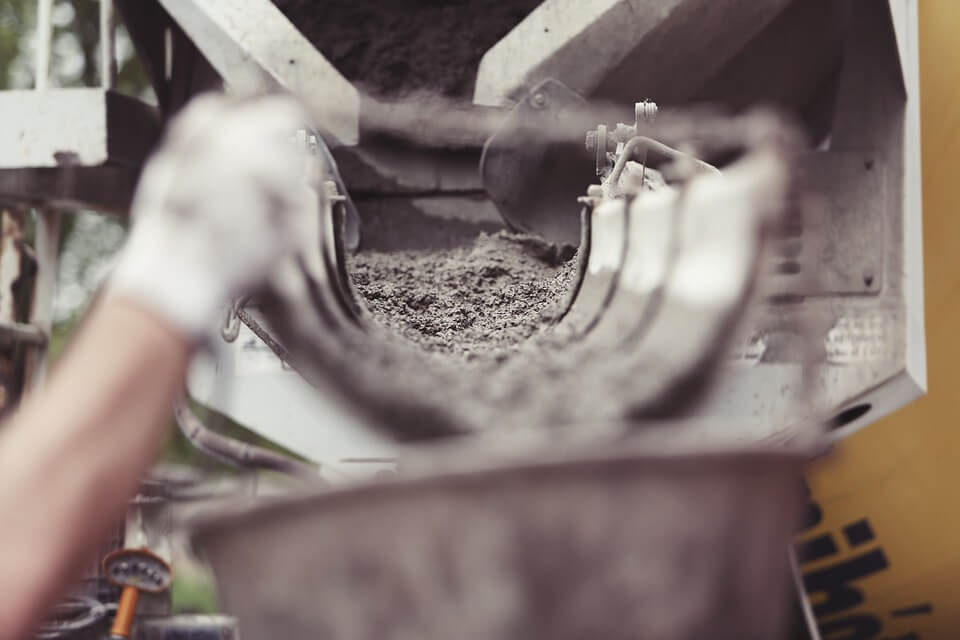
Here we come to the actual construction works – preparing concrete for the support posts, i.e., caissons. Once you’ve set the ground for this part of the job, it’s time to mix the concrete and build the foundation before you can even think about placing the boards.
It might happen that the yard slopes are not in line, i.e., that there are some lower holes to fill in so as to level the ground. If so, you’ll need to create concrete forms so that the lower parts are at the same level before pouring the concrete. To level the ground, you can use a cardboard caisson tube.
When everything is at the same level, you’re ready to pour the concrete into the holes. Be sure to remove the excess before embedding J-bolts into caissons. After that, you’re supposed to leave the concrete to cure for 48 hours.
Now there’s really not that much left to do. You’re getting closer to the final outcome, that pretty image that prompted you to do this in the first place. You only need to prepare everything for the railings and eventually for the surface. Let’s see what the final steps are.
Before it comes to placing the decking material to make the surface of decks (composite, or, in your case, wood), there needs to be a frame. To form the frame, first place the center beam and then form perimeter boards.
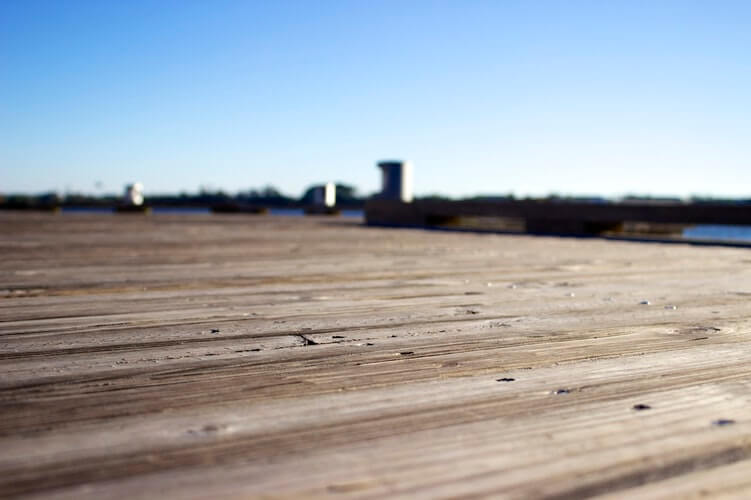
When you have the frame, it’s time for the surface. When it comes to the decking material, you should know that there is an alternative to all-wood decks – composite decks. Composite decking can be made of bamboo and wood fibers, as well as recycled plastic. Some of the main reasons why the composite material scores a high rating among some people is that composite decks are less likely to crack, as well as because they are available in various colors and textures.
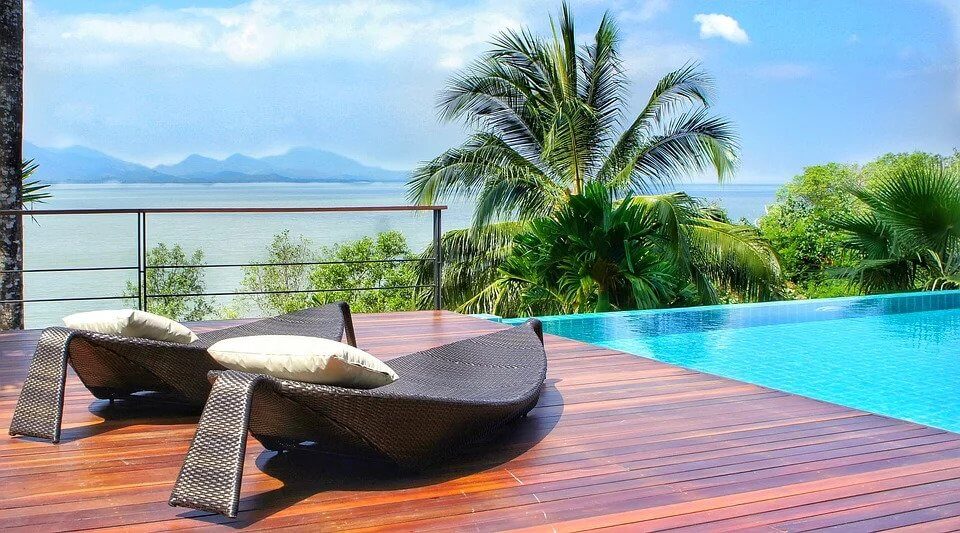
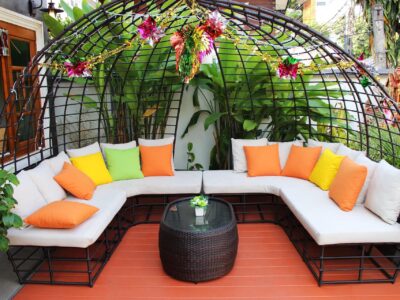
Finally, we come to the very reason why you wanted a deck in your yard – to sit back and unwind with a group of friends, your family, or just by yourself, with your favorite book and a cup of tea.